Terrain Editor
Raise Height Tool
The Raise Height tool can only elevate the terrain, but it does so in a very controlled manner. Instead of manually lifting, you can “paint” the terrain in a sweeping motion by dragging the mouse while holding the left button. The longer you keep the brush in one location, the higher that section will be and the higher the Pressure setting, which was reviewed earlier, the faster it will change.
Set your brush size to 20, pressure to 40, and softness to 100. Find a flat section of the terrain and move your mouse cursor to that location to hover the brush.
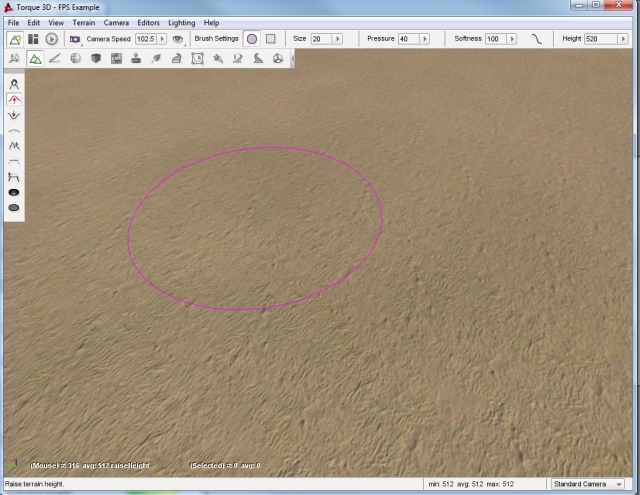
When you are ready, click and hold the left mouse button and begin dragging your brush in a direction. The terrain should elevate wherever your brush passes over. You can use this to create a hill over a long section of terrain.
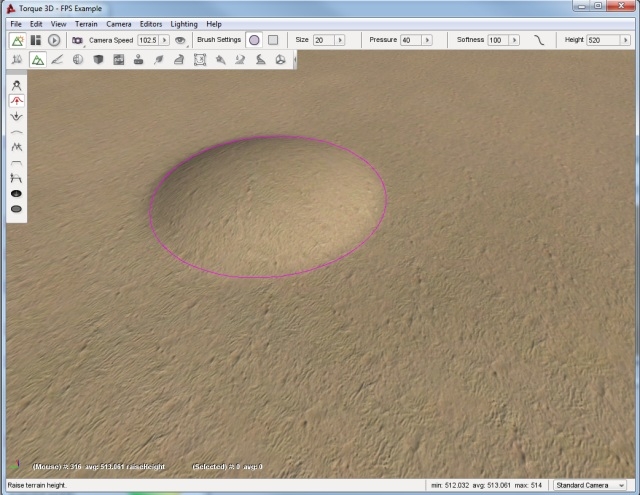
Using a lower brush pressure results in less dramatic terrain elevation as you “paint”. This allows you to be more exact in cases where you need to.
Lower Height Tool
The Lower Height tool functions completely opposite of the Raise Height tool. Instead of elevating, you can dig holes in the terrain with this tool. Again, use a circular brush with 20 size, 40 pressure, and 100 softness. With the Lower Height tool selected, locate a flat section of the terrain and hover your brush over it.
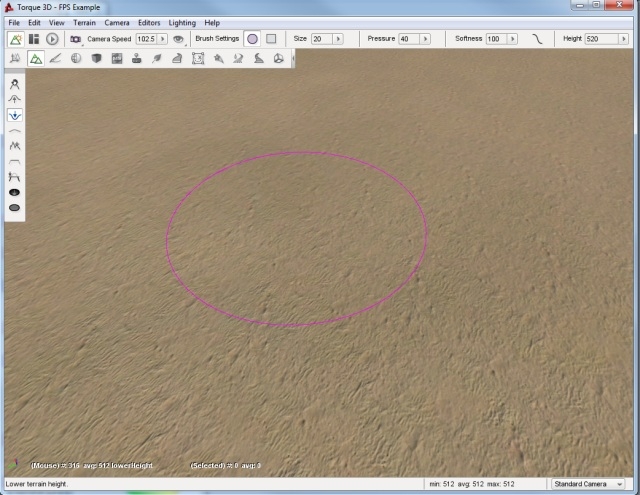
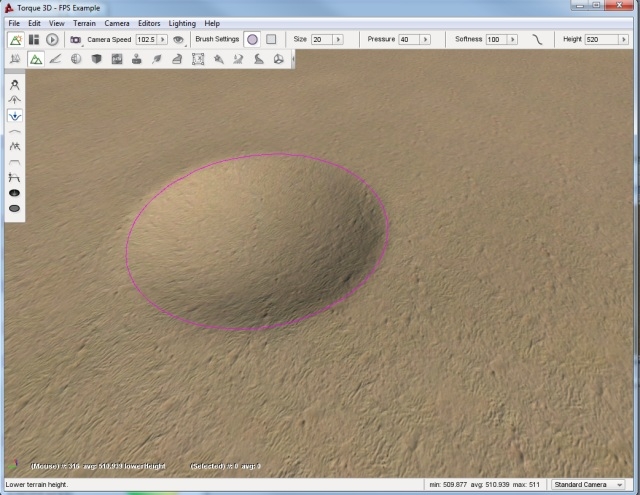
Click and hold down the left mouse button. As you do so, the terrain will sink down below the brush. If you sweep your mouse as if you are painting, you will create a path of lowered terrain. The longer you hold the mouse in a single location, the deeper the hole will be.
Smooth Tool
The Smooth tool erodes jagged terrain sections under the brush to create a smoother surface. This tool will only work if you sweep the brush across a surface. Simply holding down the left mouse button will have little to no effect.
Keeping the same settings we have been working, locate a jagged section of terrain. If you have to, create one with the Raise Height tool first. Make sure the elevation difference is significant. Select the Smooth tool then hover the brush over the applicable terrain.
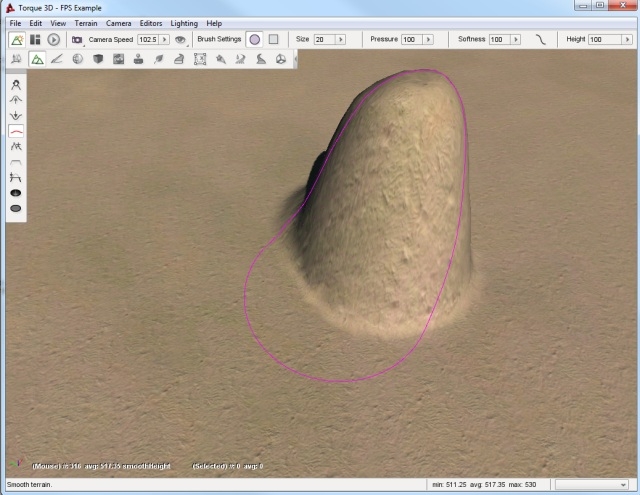
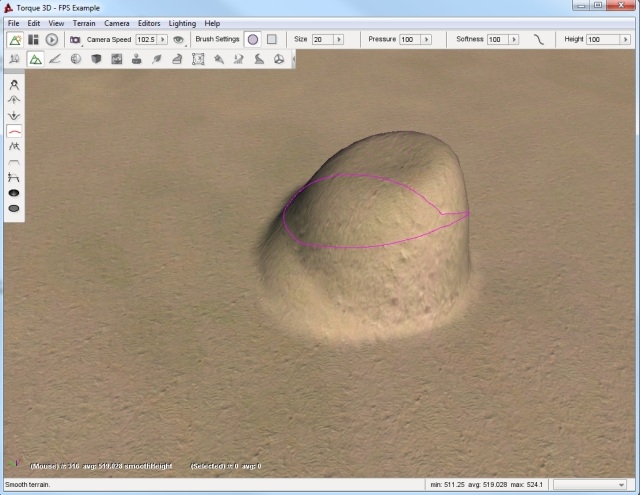
Click and hold the left mouse button, then make small circles around the peak of the terrain section. The tip should lower and have a broader surface. The broader your sweep, the more terrain is affected by the smoothing process.
Paint Noise Tool
The Paint Noise tool is used to give your terrain modifications a more randomly defined look. The tool uses a noise algorithm for sporadic elevation and excavation. Essentially, it causes fluctuation in the amount of terrain it modifies and how intensely it changes.
Select the Paint Noise tool, then set your brush to size 15, 50 pressure, and 100 softness. Locate a large section of flat terrain and move your camera to a high elevation.
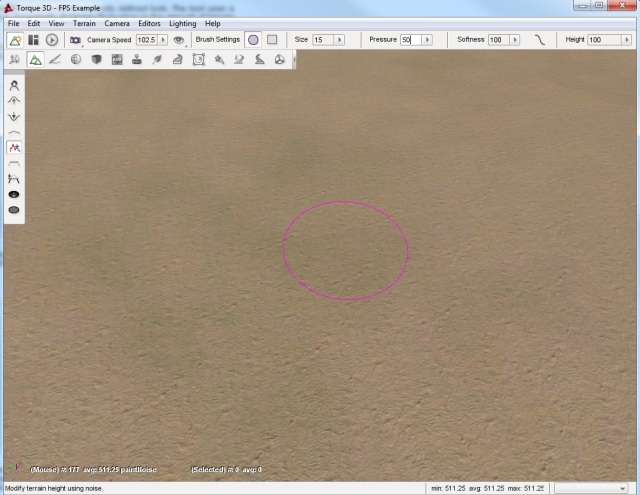
Click and hold the left mouse button down then begin to “paint” the terrain by dragging it in random patterns. Try making several concentric circles, varying spirals, zig-zag motions, etc. You should eventually see some definition forming.
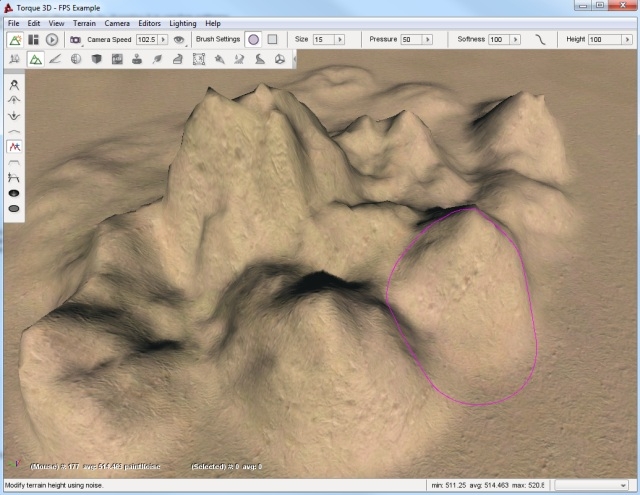
When you are finished with the tool, fly your camera around the section of the terrain to see how the terrain was affected. Keep in mind that most of these changes were random, which can add much needed detail to your terrain but can cause some weird effects. The Smooth tool can be used to go back and blend out any such effects that do not look natural.
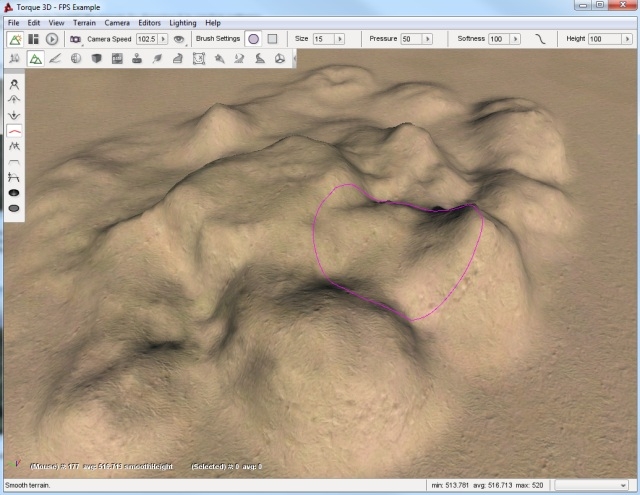
You can use this tool on terrain that has already been modified to remove unrealistic adjustments, such as perfectly smooth or flat slopes.
Flatten Tool
The Flatten tool is used to make the terrain surrounding the brush’s starting point be equal to that points elevation. In other words, this either lower or raise your terrain to the same elevation as that starting point.
Use a circular brush with 15 size, 50 pressure, and 100 softness. Find a section of terrain that is elevated. Position your brush near it, but on a flatter section of the terrain.
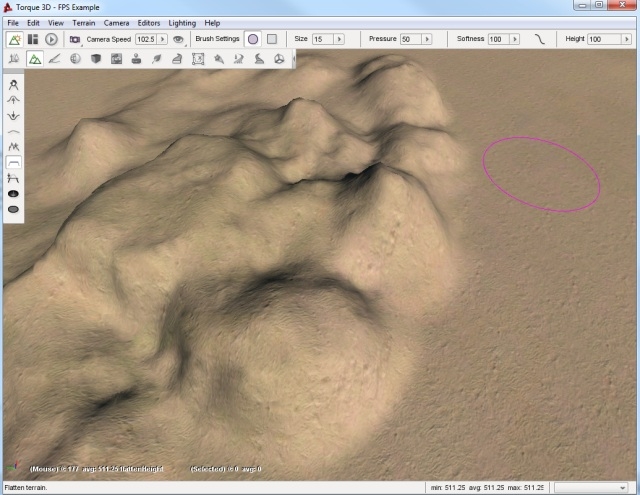
Click and hold your left mouse button, then drag it toward and over the elevated terrain until you have swept over most of it. You should see that the tool has flattened a strip of terrain, based on the brush’s location as it swept. The flattening process will become weaker the further you take the brush into the higher terrain such that it will not cut a path that is exactly the elevation of the starting point but rather relative to it and the terrain you are crossing. If you sweep the Flatten tool slowly across a hilly terrain, you will see that it is well suited for specialized tasks such as creating road and rail beds or mountain passes. Creating these types of features can be accomplished using the other tools but this tool in particular makes that job much easier.
If you make several sweeps in the same direction, from the same starting point, your terrain will eventually smooth out into a flat plateau almost level with your original starting point.
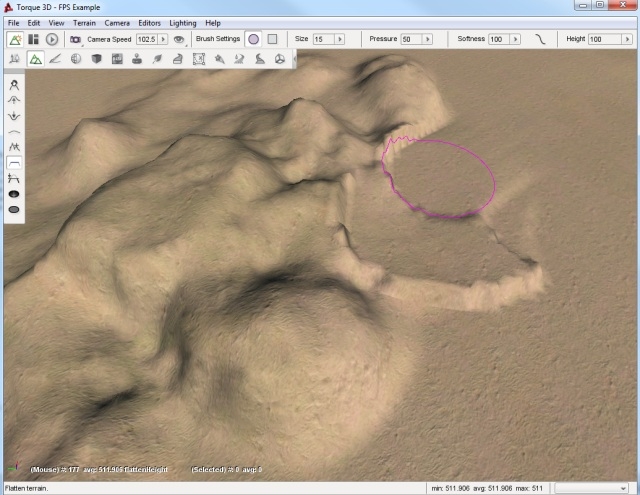
This is generally handy for clearing a smooth path from one elevation to another. However, this is not the optimal approach for flattening huge sections of terrain. The other tools can perform that process much faster and more efficiently.
Set Height Tool
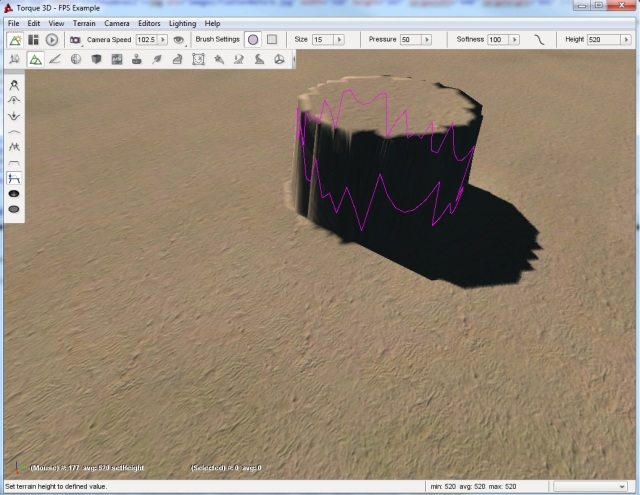
The Set Height tool will allow you to determine the exact height for the terrain brush. Use a circular brush with a size of 15, pressure of 50 and softness of 100, and a height of 520.
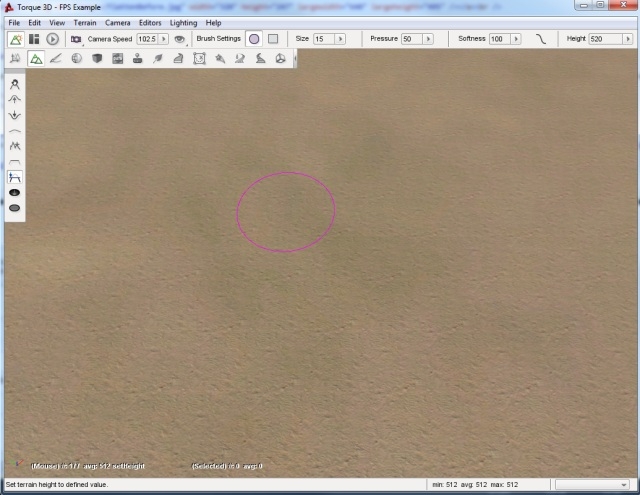
Now, when you press the left mouse button, it will create a plateau at exactly that height.
Clear Terrain Tool
The Clear Terrain tool will allow you to remove pieces of the terrain. This is an effective way to carve out entrances to caves. That way your artist can create a detailed cave level and your level editor can “carve” out an entrance in the terrain. Using the previous tools, create a small hillside.
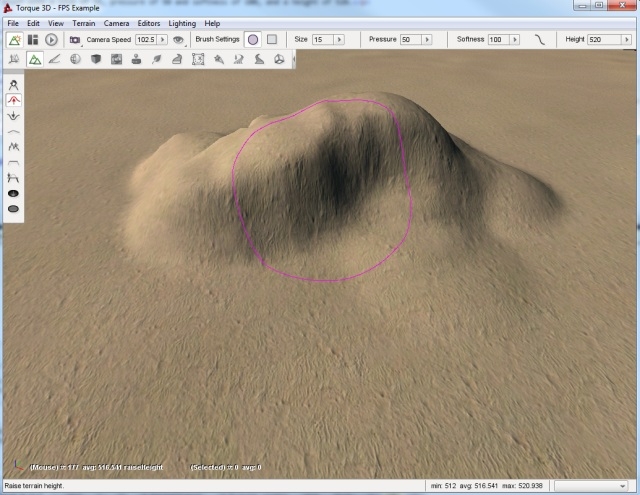
Now, set your brush size to 5 and zoom into an area that looks like a promising cave entrance.
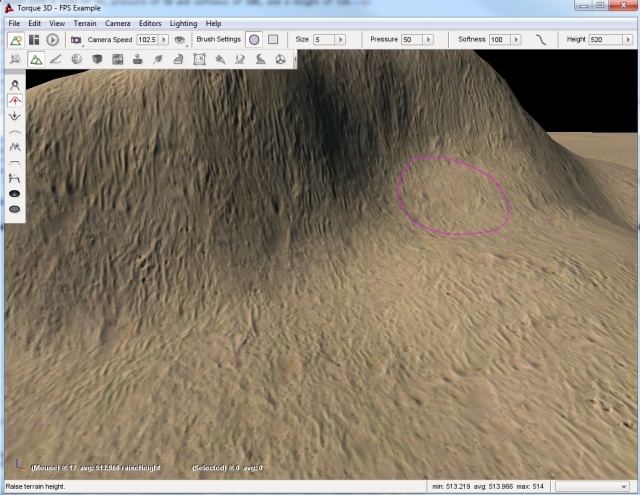
When you select the terrain area, it will remove the mesh data from the terrain, creating an opening.
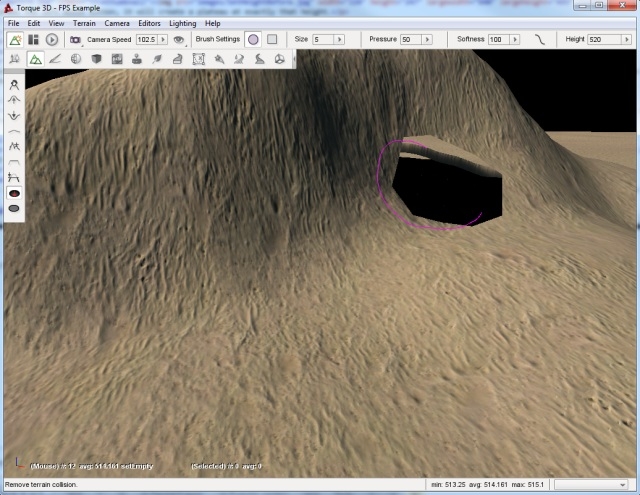
Now you can place your cave model underneath the terrain so that the player can explore the world under your terrain.
Restore Terrain Tool
The Restore Terrain tool complements the Clear Terrain tool. It will restore the mesh data for the terrain. That way, you can have better control over the transition between your models and terrains. If you select the Restore Terrain button and then left-click on the previously cleared area, you will see it restore the terrain to its previous state.

Last updated